Building a Web Page
A quick walk-through of building a basic web page.
Create Folders and Files
Create a folder on your desktop called website. This is where you’ll put your site files. The name and location doesn’t really matter, just as long as you’re able to find it again when you’re ready to edit and upload the website.
Create a file called index.html in that folder. One way to do this is to right-click in the folder and select New File from the contextual menu.
Open a plain text editor, like Notepad, and add some HTML document structure into the index.html file.
Here is a basic template.
<!DOCTYPE html>
<html lang="en">
<head>
  <title>Your title</title>
</head>
<body>
  more text will go here...
</body>
</html>
Add some HTML content into the <body> element.
Create a headline and put some text in it:
<h1>?</h1>Create a paragraph and put some text in it:
<p>?</p>Create a link, you could go to any website and copy their URL into the href:
<p><a href="https://www.htmlhobbyist.com/"> HTML Hobbyist </a></p>Create a folder called images in your website folder.
Add an Image
Find an image that you like and put that in the images folder.
Add the code below but replace image.png with the name of the image that you found:
<img src="images/image.png" height="200" width="200" />View Your Page
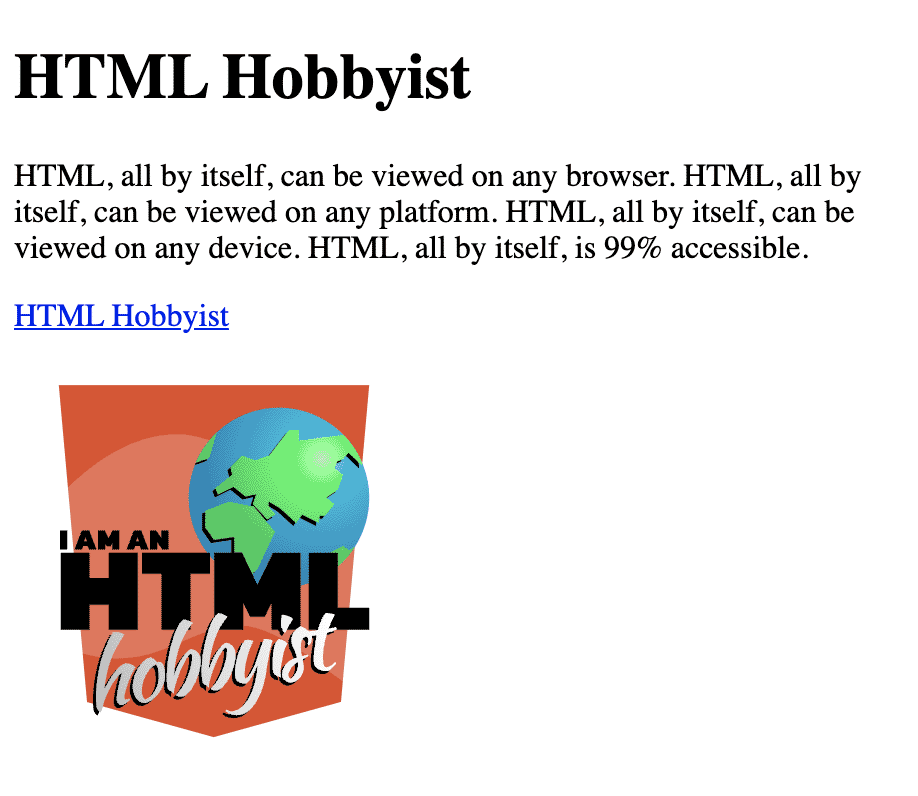
Open a browser window. Using File > Open File… in your browser menu open index.html and you should have something that looks like this:

I’ll provide more explanation about HTML code when we start Learning HTML Properly.